Install Cloud Connector
Download Cloud Connector using this link- Download Cloud Connector
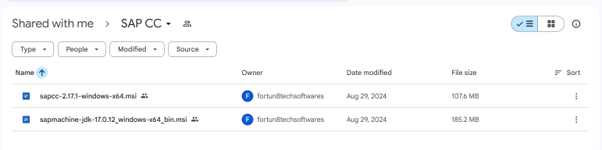
Download both SAPCC and SAP Machine JDK files and verify that they are available in your Downloads folder.
Now, double-click the SAP Machine JDK setup file to start the installation.

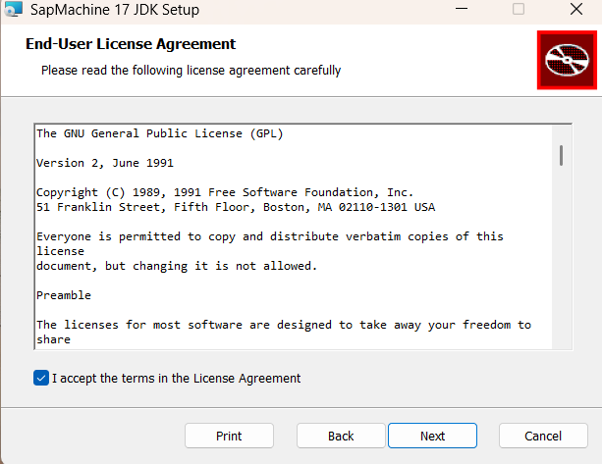
Click Next, select "I Accept", and click Next as shown below.
Click Next to continue.
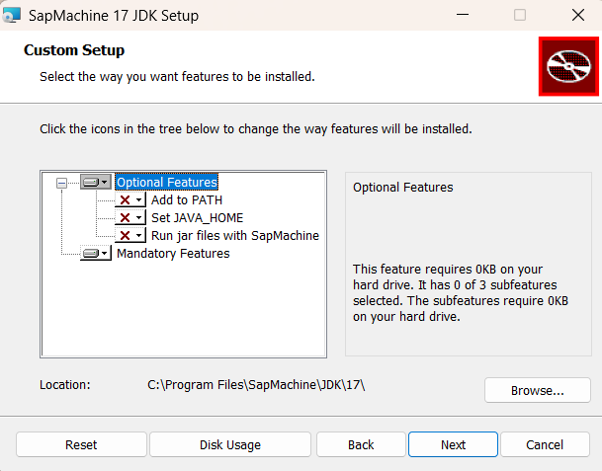
When the "Ready to Install" screen appears, click Install.

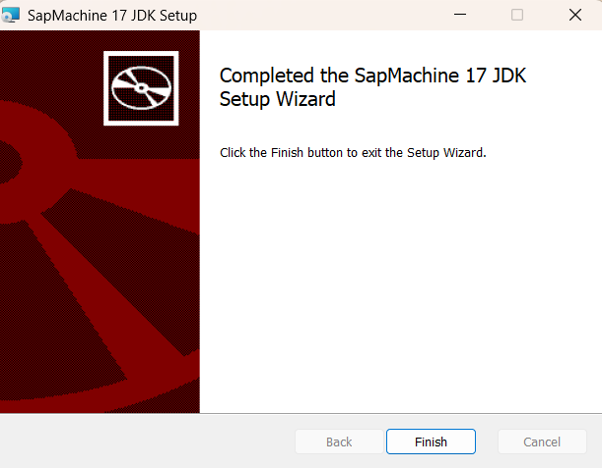
Wait for the SAP Machine JDK installation to complete, then click Finish..
Now, double-click the SAPCC setup file to begin the SAP Cloud Connector installation.

The following screen will appear.
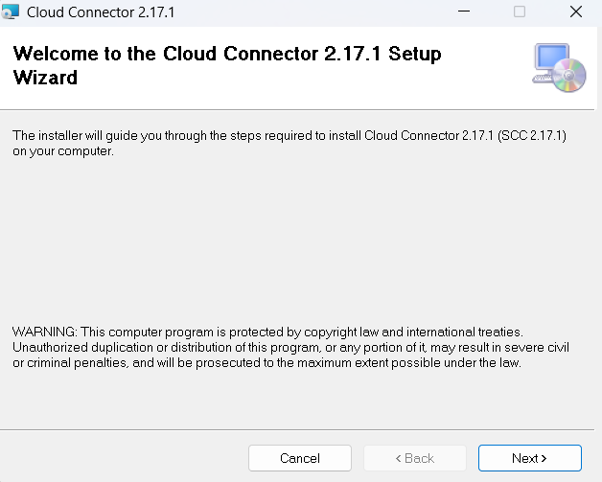
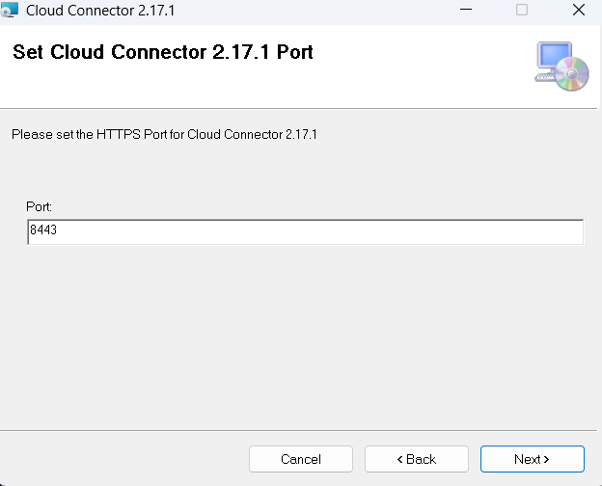
Click Next to continue.
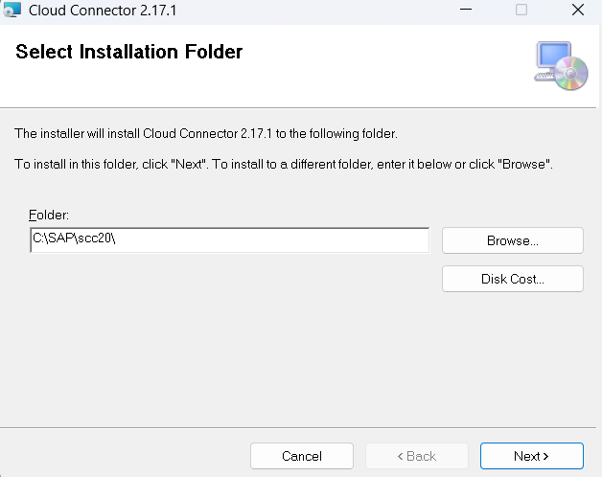
Click Next to continue.
Select the JDK installation folder as shown below..
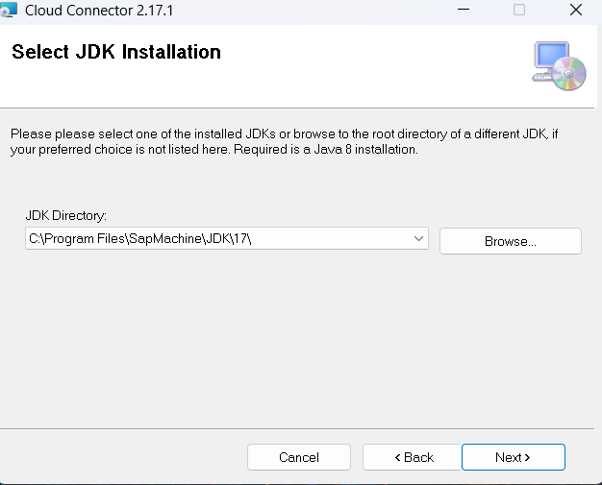
Click Next to continue.
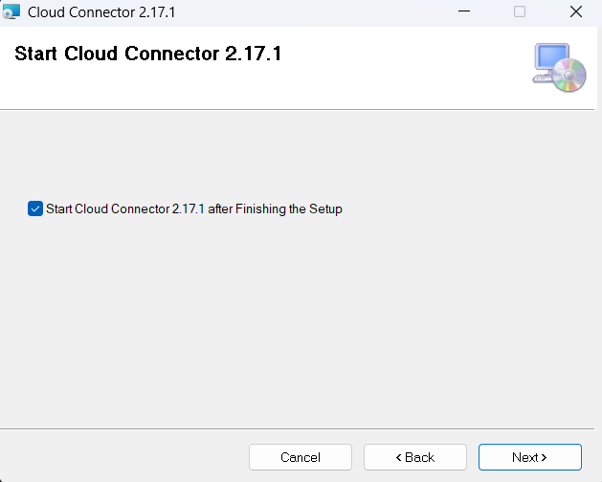
Click Next to continue.
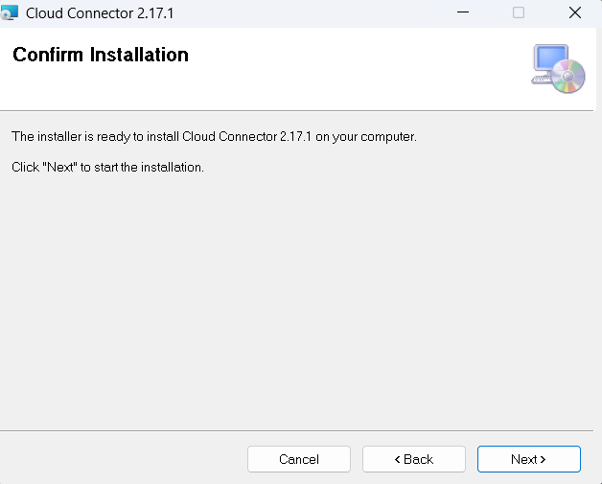
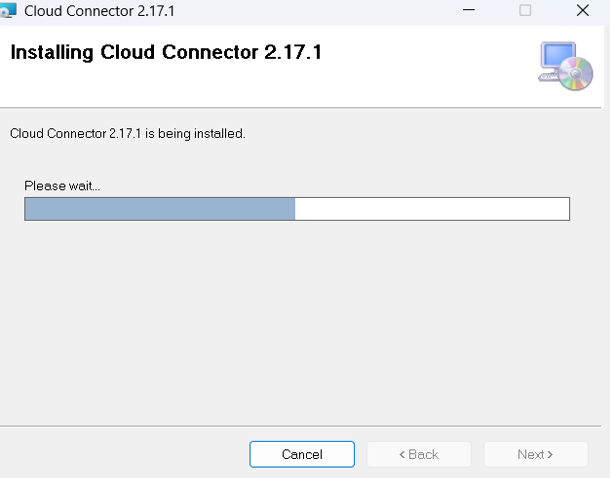
Installing SAP Cloud Connector...
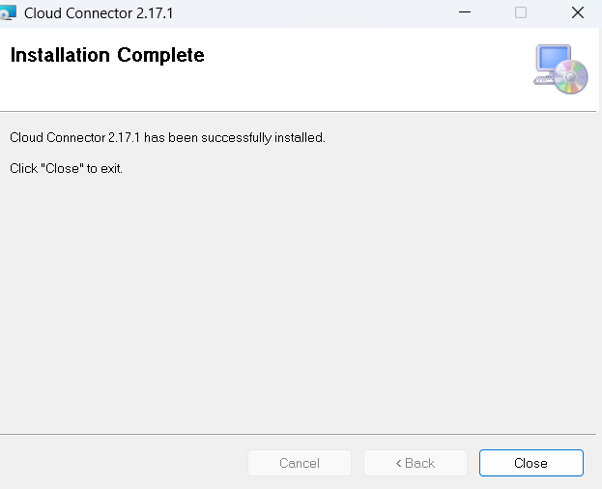
SAP Cloud Connector setup completed successfully. Click Close.
Open Services and verify that SAP Cloud Connector is in the Running status.

Now, open Google Chrome and enter the following URL:
https://localhost:8443/
The SAP Cloud Connector login screen will appear as shown below.
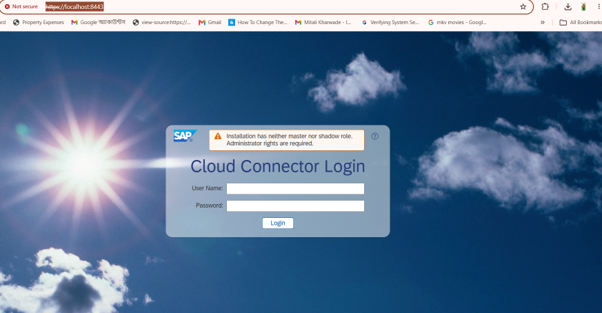
Enter the default credentials below and click Log On:
User Name: Administrator
Password: manage
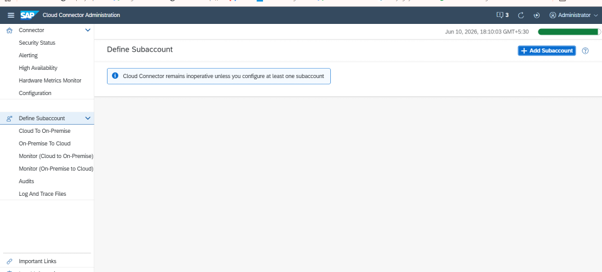
The SAP Cloud Connector dashboard will appear as shown below.
Add SAP Cloud Connector Certificate Configuration Steps:
After opening SAP Cloud Connector, navigate to Configuration → On-Premise.
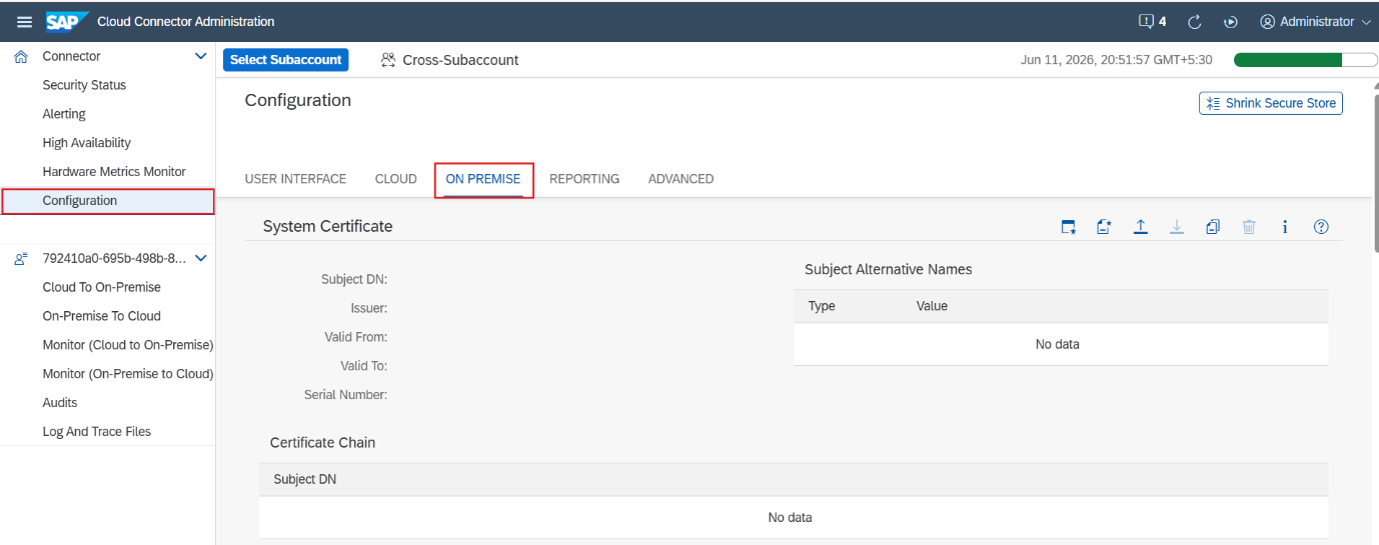
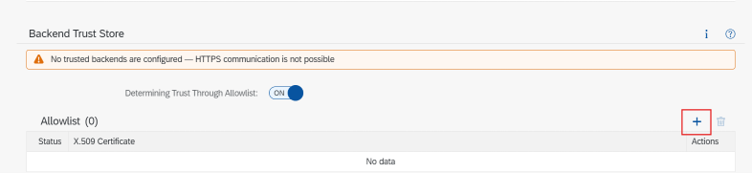
Under Backend Trust Store, click the Plus (+) icon.
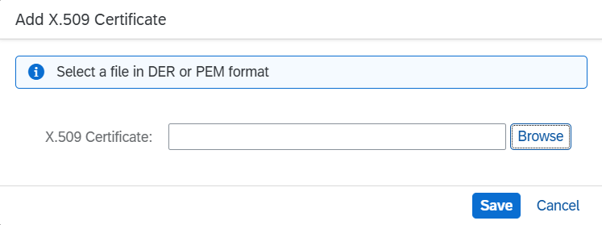
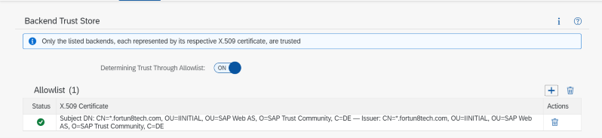
Select the certificate file that was downloaded along with the initial setup files..

Further connectivity configuration is required using your SAP BTP Trial Account..
Please log in to your SAP BTP Subaccount first. Once the login is successful, follow the steps below to connect the cloud environment to your on-premise system.
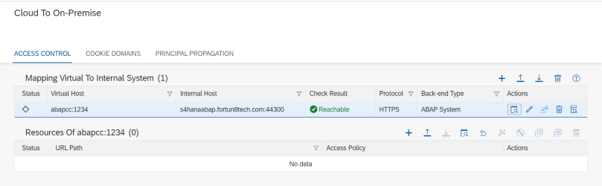
Map the Backend System to SAP Cloud Connector:
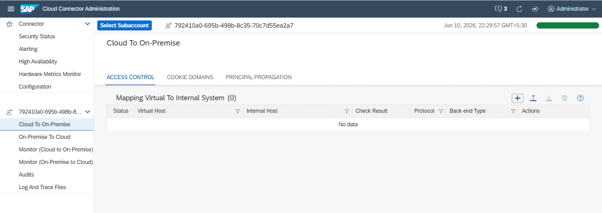
Click the Plus (+) icon and select ABAP System from the drop-down list.

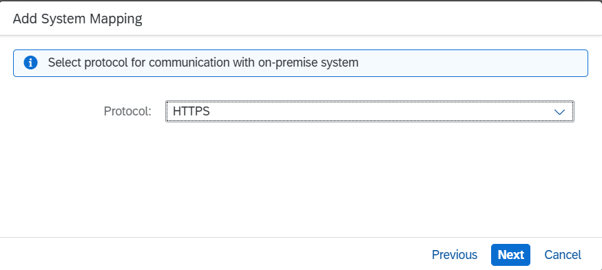
Click Next and select HTTPS from the drop-down list.
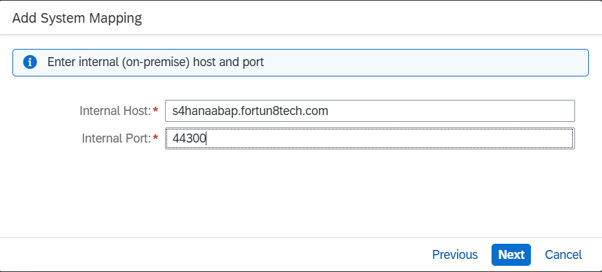
Enter the Internal Host Name and Internal Port Number as shown below, then click Next.
Enter the Virtual Host Name and Virtual Port Number as shown below, then click Next..

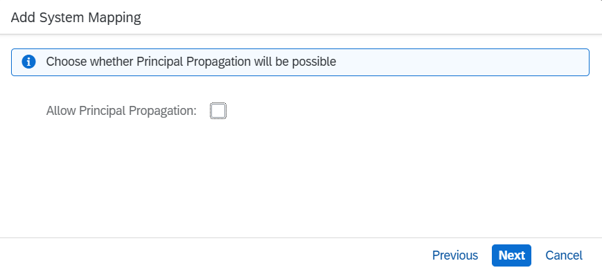
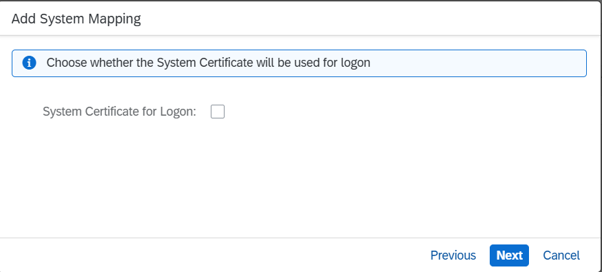
Untick the option and click Next.
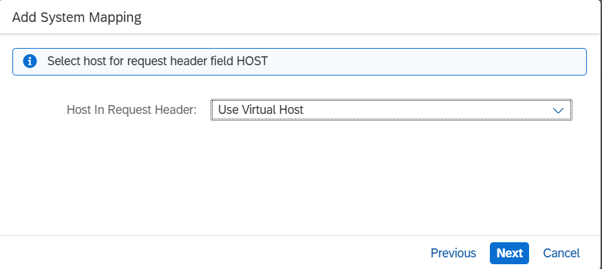
Keep the default settings unchanged and click Next..
Keep the default settings unchanged and click Next..
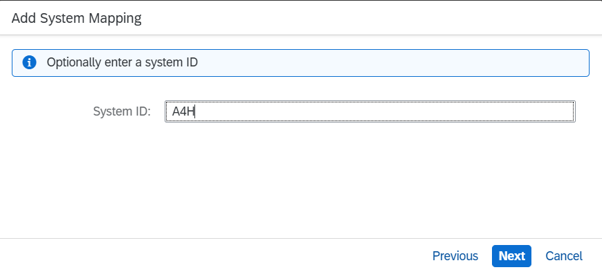
Enter the System ID as A4H and click Next..
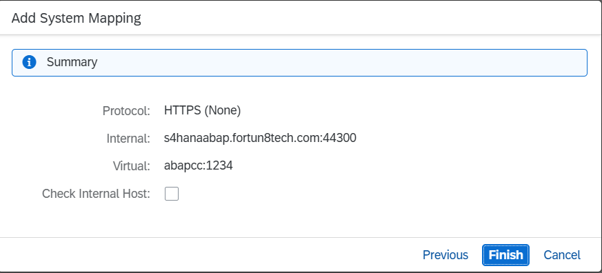
Click Finish to complete the configuration.
The connection has been added successfully. To verify the connectivity, click the Check Availability icon next to the Edit option..
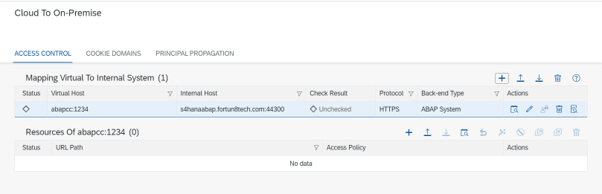
The connection is reachable and is displayed in green as shown below.